
Monitor An Area Using Old Mobile Phone Camera
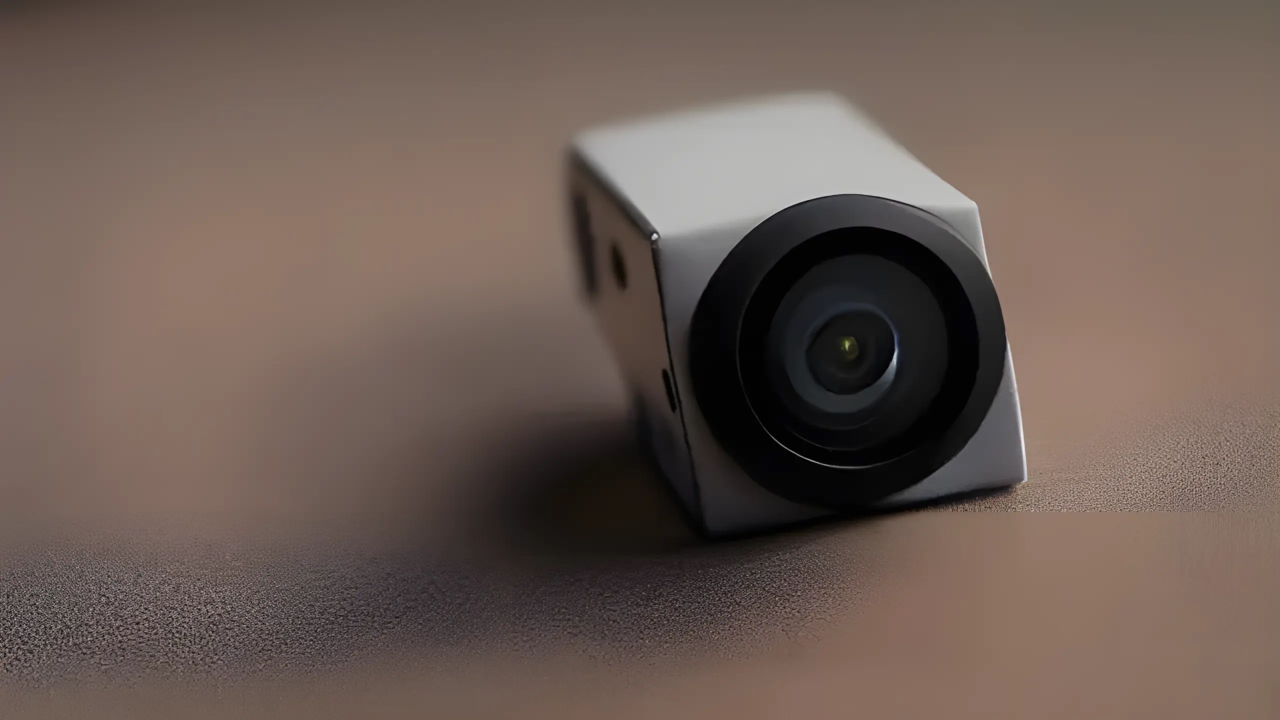
An obsolete phone or portable device can be turned into a webcam using a custom application. Most smartphones come with Wi-Fi to connect to the local area network and do not need to be connected to the internet. Node.js will be used for the server on the work-station and to receive the images at a specific interval. A WebSocket will be used between the client and the server to upload images.
For my use case, I raised chickens and want them to roam on the pasture when I am working indoors. I envisioned a camera setup running off a battery and solar panel and a miniature computer that uses a Wi-Fi connection to record and send photos or a video at a specific interval.
This concept can also work with tablets and notebooks. I chose to use old phones because they are smaller and use less power. Phones can charged only a few times per week while turned on for several hours per day. A phone can be mounted outside the phone has water-proof protection. Phones with motion detectors can also be used to turn on only if something in detected just outside of the target area.
Requirements For Security Camera
Glossary:
URL
Page to open.
Wi-Fi
Wireless network protocols based on the IEEE 802.11 standards for local area networks.
WLAN
Wireless LAN is a computer network that links 2 or more devices.
Node.js
JavaScript runtime environment that is cross-platform and open-source.
WebSocket
Communications protocol, providing simultaneous two-way communication channel over a single Transmission Control Protocol (TCP) connection.
Discontinued Devices
| Name | Description | Recording | Power |
|---|---|---|---|
| Apple iPhone SE | Updated to iOS 15.8.3 and Safari 18.3. | Takes photos and videos on front and back cameras. | Lighting, USB 2.0 10W charging |
| Sony Xperia XA1 Ultra | Updated to Android 8.0 and lastest web browser. | Takes photos and videos on front and back cameras. | USB Type-C 2.0 10W charging |
| Name | Description | Example |
HTML Take Photo Every 3 Seconds
<!DOCTYPE html>
<html>
<head>
<title>Ojambo.com Chicken Security Cam</title>
<meta charset="utf-8" />
<meta name="viewport" content="width=device-width, initial-scale=1" />
</head>
<body>
<video></video>
<button type="button">Record</button>
<em></em>
<script type="text/javaScript">
// JavaScript Goes Here
</script>
</body>
</html>
JavaScript Take Photo Every 3 Seconds
(() => {
let host = 'ws://localhost:8080/';
let socket = new WebSocket(host);
let str = null;
let iid = null;
let img = document.querySelector('img');
let vid = document.querySelector('video');
let btn = document.querySelector('button');
let sel = document.querySelector('select');
let msg = document.querySelector('em');
navigator.mediaDevices.getUserMedia({video: true, audio: false});
navigator.mediaDevices.enumerateDevices().then((devices) => {
let vds = devices.filter(device => device.kind === 'videoinput');
let opt = vds.map(vd => {
return `<option value="${vd.deviceId}">${vd.label}</option>`;
});
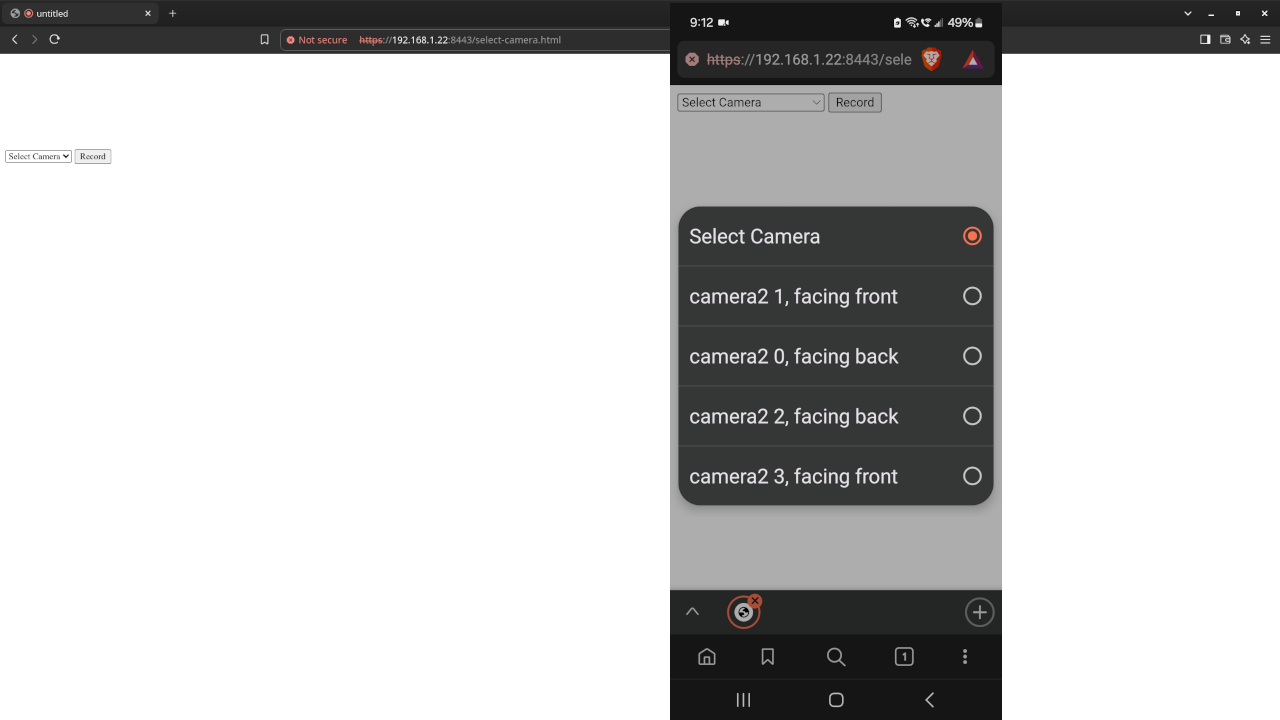
sel.innerHTML = `<option value="">Select Camera</option>` + opt.join('');
});
sel.addEventListener('change', (evt) => {
if (str !== null) {
str.getTracks().forEach(track => {
track.stop();
vid.srcObject.removeTrack(track);
});
vid.pause();
vid.src = '';
str = null;
}
if ( sel.value !== "") {
navigator.mediaDevices.getUserMedia({video: {deviceId: sel.value}, audio: false}).then((stream) => {
str = stream;
vid.srcObject = stream;
vid.play();
});
}
});
btn.addEventListener('click', (evt) => {
if (btn.innerHTML == 'Record') {
btn.innerHTML = 'Recording';
iid = setInterval(() => {
let canvas = document.createElement('canvas');
let context = canvas.getContext('2d');
canvas.width = vid.videoWidth;
canvas.height = vid.videoHeight;
context.drawImage(vid, 0, 0, canvas.width, canvas.height);
//let data = canvas.toDataURL('image/png');
canvas.toBlob((blob) => {
let file = new File([blob], 'image.png', {type: blob.type});
socket.binaryType = 'arraybuffer';
socket.onopen = (ev) => {
header = '{"filename":"' + file.name + '","size":' + file.size + '}';
socket.send(header);
};
socket.onmessage = function(e) {
msg.innerHTML = e.data;
};
let reader = new FileReader();
let data = new ArrayBuffer();
reader.onload = (e) => {
data = e.target.result;
socket.send(data);
};
reader.readAsArrayBuffer(file);
});
}, 3000);
} else {
btn.innerHTML = 'Record';
clearInterval(iid);
}
});
})();
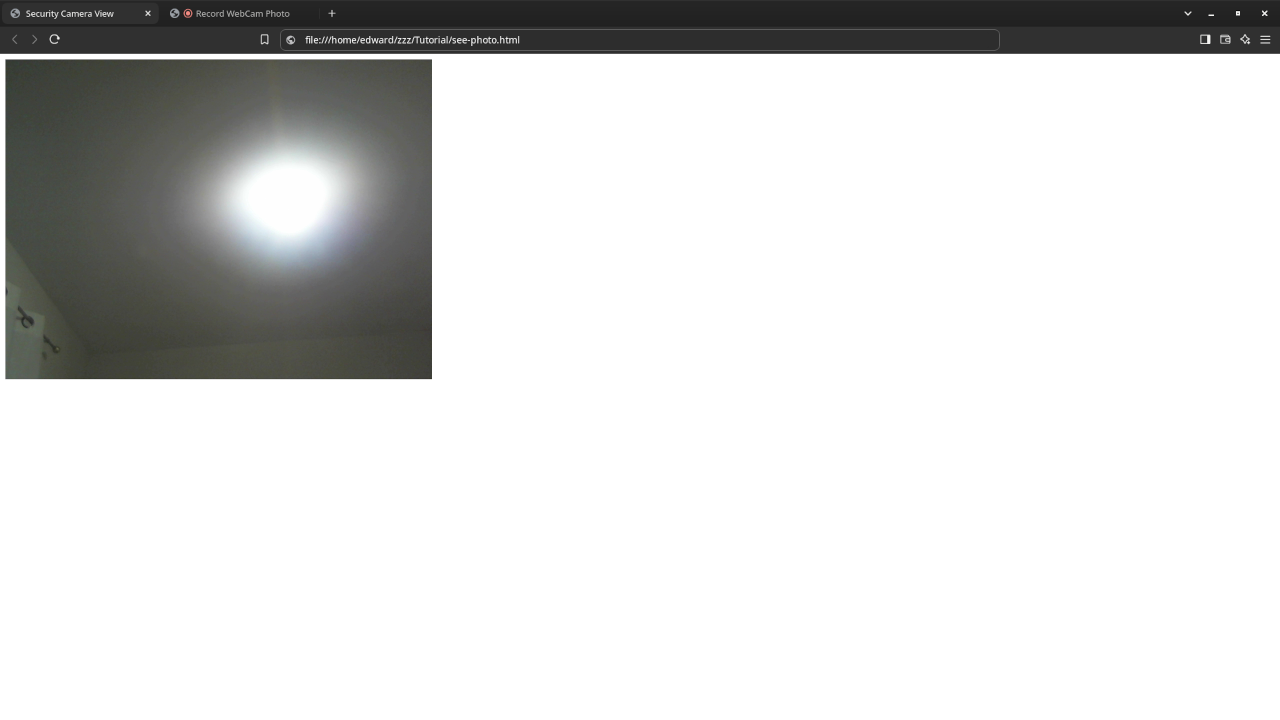
JavaScript Refresh Photo Every 3 Seconds
// Reload Every 3 Seconds
setInterval(function(){
let img = document.querySelector('img');
if ( !img.src.includes('?') ) {
img.src = `${img.src}?${Date.now()}`;
} else {
img.src = img.src.slice(0, img.src.indexOf('?') + 1) + Date.now();
}
}, 3000);
Setup Development Environment
mkdir -p camera-app/public
cd camera-app
npm init -y
touch app.js
Generate Self Signed Certificates
# Generate Private Key #
openssl genrsa -aes256 -out cameraCA.key 4096
# Generate 90 Day Root Certificate #
openssl req -x509 -new -nodes -key cameraCA.key -sha256 -days 90 -out cameraCA.crt
# Generate Server Key And Certificate Signing Request #
openssl req -new -nodes -out camera.csr -newkey rsa:4096 -keyout camera.key
# Generate Server Certificate #
openssl x509 -req -in camera.csr -CA cameraCA.crt -CAkey cameraCA.key -CAcreateserial -out camera.crt -days 365 -sha256
Node.js WebSocket
const WebSocket = require('ws');
const express = require('express');
const fs = require('fs');
const app = express();
app.use(express.static('public'));
const options = {
key: fs.readFileSync('camera.key'),
cert: fs.readFileSync('camera.crt'),
ca: [fs.readFileSync('cameraCA.crt')]
};
const server = require('https').createServer(options, app);
const wss = new WebSocket.Server({ server });
wss.binaryType = 'arraybuffer';
wss.on('connection', ws => {
ws.on('message', message => {
if (Buffer.isBuffer(message)) {
fs.writeFile('public/image.png', message, (err) => {
if (err) throw err;
//console.log('Binary file saved');
ws.send('Binary file saved at: ' + new Date().toISOString());
});
}
});
});
server.listen(8080, () => {
console.log('Server is listening on port 8080');
});
Run Application
node app.js
Usage
You can use any IDE or text editor and the web browser to compile and execute JavaScript code. For this tutorial, the OjamboShop.com Learning JavaScript Course Web IDE can be used to input and compile JavaScript code for the HTML5 Security Camera.
Open Source
JavaScript follows the ECMAScript standard and is licensed under the W3C Software License by web browser vendors and runtime environment vendors. This allows commercial use, modification, distribution, and allows making derivatives proprietary.
Live Stream
Every day, you can join a live stream and ask questions. Check Ojambo.com for details and instructions.
Learn Programming Courses:
Get the Learning JavaScript Course for your web browser on any device.

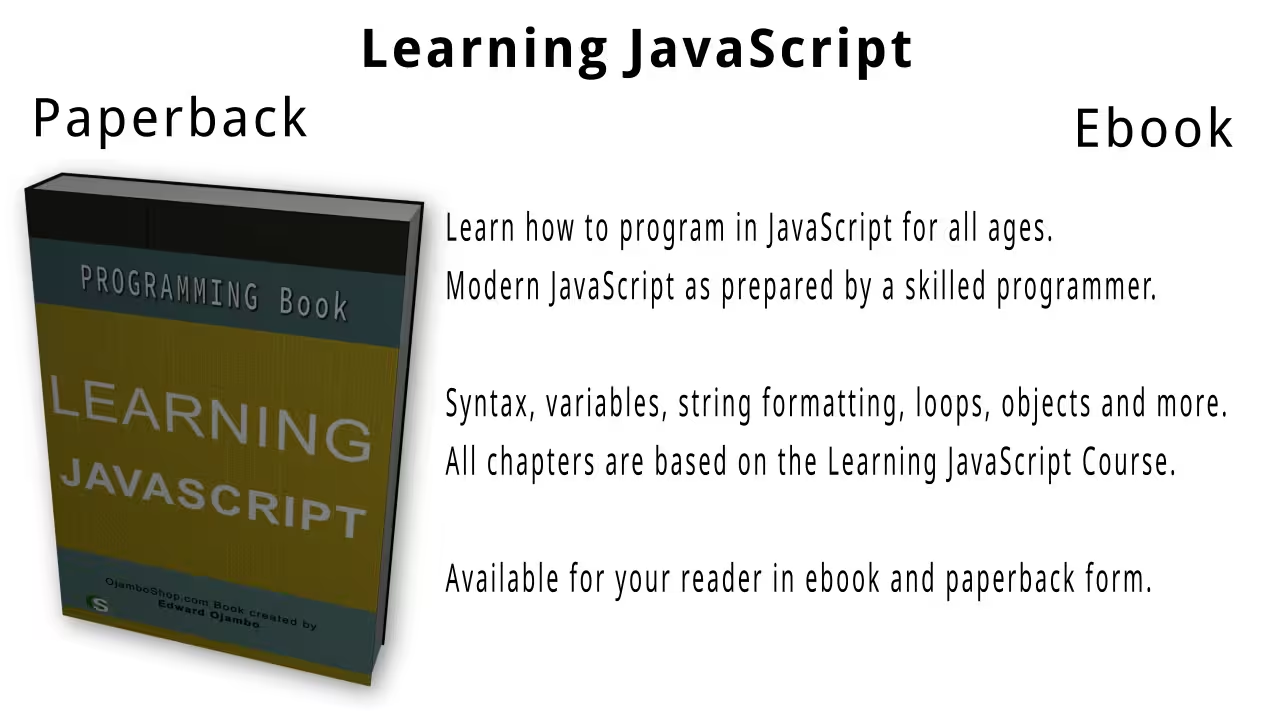
Learn Programming Books:
Learning JavaScript Book is available as Learning JavaScript Paperback or Learning JavaScript Ebook.
Conclusion:
HTML5 makes it easy to request permission to use a camera and create a video or photograph at specified intervals. Node.js is used to upload images via a WebSocket and make them available for display on the receiving device. An old device with a camera such as a smartphone, tablet, laptop or miniature computer can be used as a security camera.
If you enjoy this article, consider supporting me by purchasing one of my WordPress Ojambo.com Plugins or programming OjamboShop.com Online Courses or publications at Edward Ojambo Programming Books or become a donor here Ojambo.com Donate
References:
- Node.js JavaScript Runtime Environment
- Customer Sets Price Plugin for WooCommerce on Ojambo.com
- Learning JavaScript Course on OjamboShop.com
- Learning Python Course on OjamboShop.com
- Learning PHP Course on OjamboShop.com
- Learning JavaScript Paperback on Amazon
- Learning JavaScript Ebook on Amazon
- Learning Python Ebook on Amazon
- Learning PHP Ebook on Amazon
- OjamboServices.com For Custom Websites, Applications & Tutorials
🚀 Recommended Resources
Disclosure: Some of the links above are referral links. I may earn a commission if you make a purchase at no extra cost to you.