
Frontend File Uploads: Mastering HTML5 Multiple Upload AJAX with Fetch API
Welcome to the start of an exciting, beginner-friendly series! Dealing with **file uploads** is a fundamental task in web development, and modern techniques make it far more powerful and user-friendly than the old-school methods.
In this tutorial, we’re going to dive deep into the **frontend** mechanics of creating a **multiple file upload** system using **HTML5**, the **Fetch API** for **AJAX**, and a touch of **Drag and Drop** functionality. This will lay the groundwork for a robust system, with the backend processing to follow in our next post!
Let’s get started on building a sleek and functional file upload interface.
The HTML5 Foundation
Every modern web application starts with solid **HTML**. For file uploads, the core is a simple <input type="file"> element with two crucial attributes:
multiple: This tells the browser to allow the user to select more than one file.accept: This helps restrict the types of files the user can select (e.g.,image/*for all image types).
Here’s the basic HTML structure we’ll use:
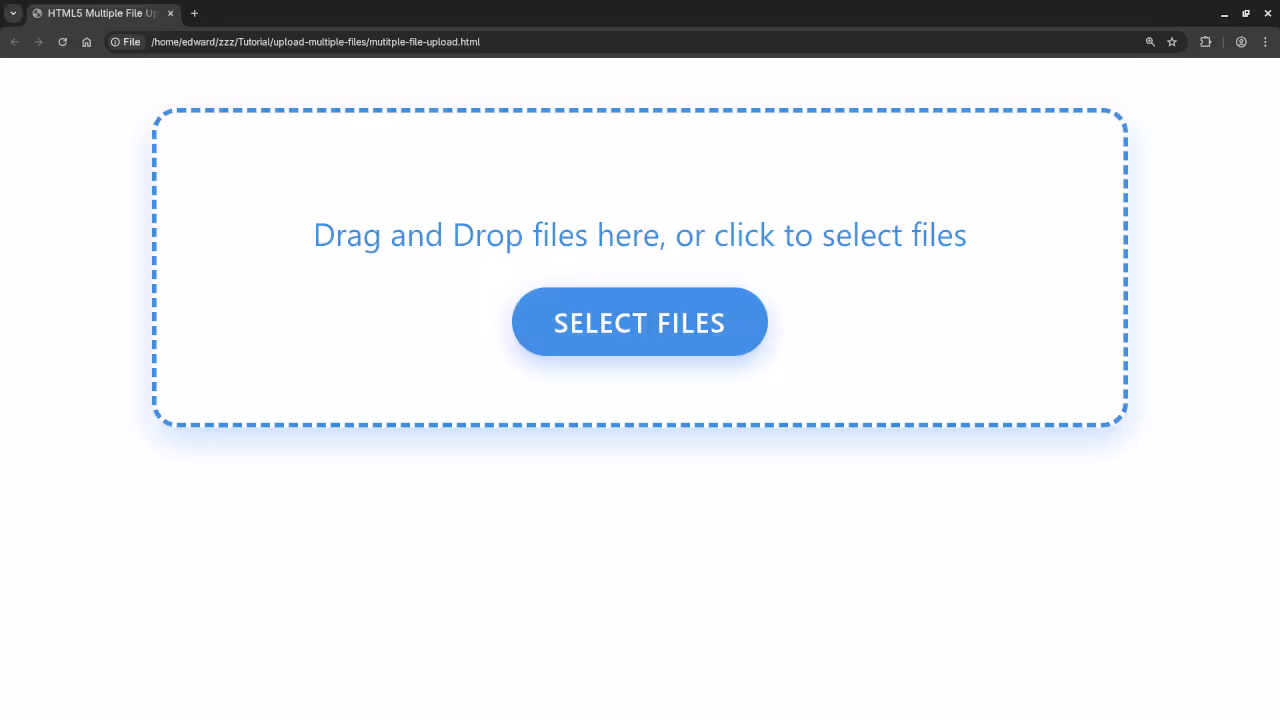
<div id="drop-area">
<p>Drag and Drop files here, or click to select files</p>
<input type="file" id="fileElem" multiple accept="image/*" style="display: none;">
<label for="fileElem" class="button">Select Files</label>
<progress id="progressBar" value="0" max="100" style="display:none;"></progress>
</div>
<div id="status"></div>
We’ve added a few extras:
#drop-area: This is the main container that will receive the dropped files.- The
<input>is hidden (style="display: none;") and triggered by a user-friendly<label>acting as a button. #progressBar: A simple HTML5 element to show upload progress.#status: A space for messages (like “Upload Complete!”).
Adding Drag and Drop Functionality
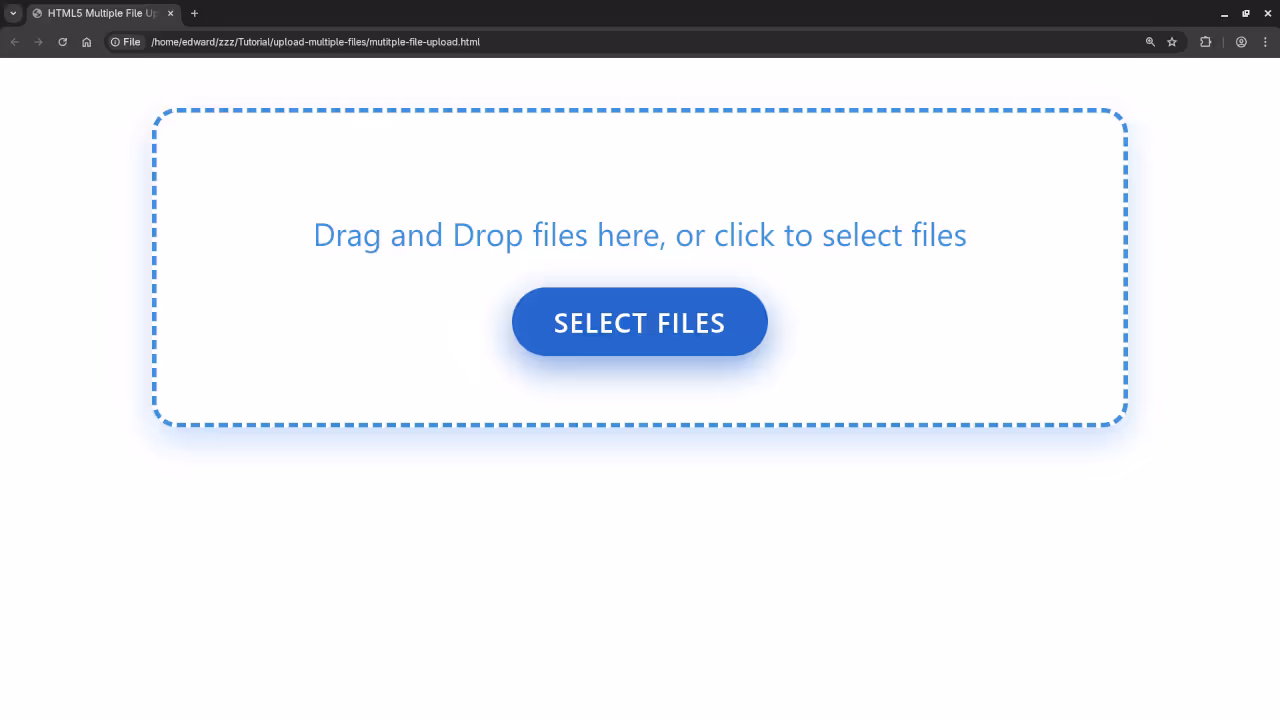
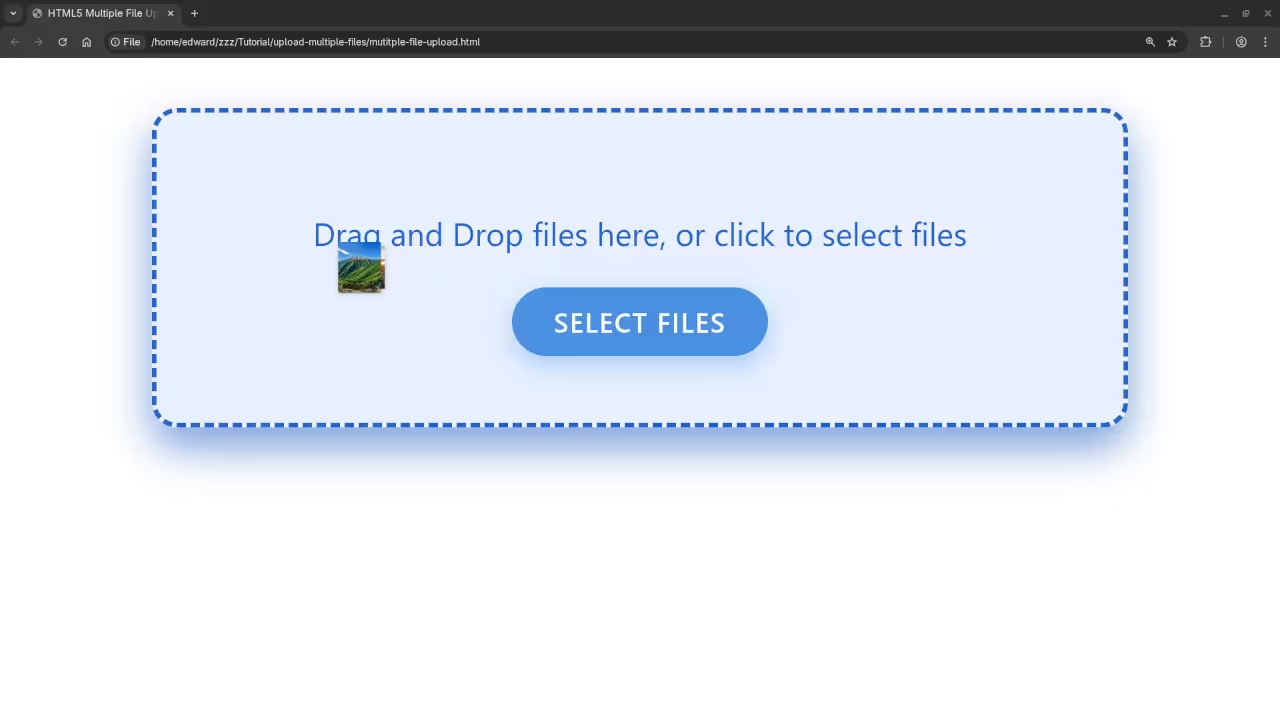
To make this user-friendly, we’ll implement **Drag and Drop**. This requires listening for a few specific **JavaScript** events on our #drop-area:
dragenteranddragleave: To change the area’s visual style when a user drags a file over it.dragover: To prevent the browser’s default behavior (which is to open the file).drop: The key event where we actually access the files.
The core code for handling the drop event looks like this:
const dropArea = document.getElementById('drop-area');
const fileInput = document.getElementById('fileElem');
// Prevent default drag behaviors
['dragenter', 'dragover', 'dragleave', 'drop'].forEach(eventName => {
dropArea.addEventListener(eventName, preventDefaults, false);
});
function preventDefaults(e) {
e.preventDefault();
e.stopPropagation();
}
// Handle dropped files
dropArea.addEventListener('drop', handleDrop, false);
function handleDrop(e) {
const dt = e.dataTransfer;
const files = dt.files;
// Pass the files to the upload function
uploadFiles(files);
}
// Also trigger upload when the hidden input changes
fileInput.addEventListener('change', (e) => {
uploadFiles(e.target.files);
});
When a file is dropped or selected, we pass the collection of files to our main uploadFiles function.
AJAX Upload using the Fetch API
The **Fetch API** is the modern, promise-based standard for making network requests, replacing older XMLHttpRequest techniques for most tasks. To send files, we must use the **FormData** object. This object easily constructs a set of key/value pairs representing form fields and their values, including the file data.
Here is the uploadFiles function, focusing purely on the frontend preparation and sending:
function uploadFiles(files) {
const formData = new FormData();
const statusDiv = document.getElementById('status');
const progressBar = document.getElementById('progressBar');
// 1. Append all selected files to the FormData object
// Note: The key name 'uploaded_files' must match what the backend expects.
for (let i = 0; i < files.length; i++) {
formData.append('uploaded_files[]', files[i]);
}
// 2. Configure the Fetch request
// IMPORTANT: Replace '/upload-endpoint' with your actual backend URL.
fetch('/upload-endpoint', {
method: 'POST',
// Fetch automatically sets the 'Content-Type' header correctly
// for FormData, so we don't need to manually set it!
body: formData
})
.then(response => {
// 3. Handle the response (This is where the next tutorial will focus!)
if (response.ok) {
statusDiv.innerHTML = 'Upload successful!';
progressBar.style.display = 'none';
} else {
statusDiv.innerHTML = 'Upload failed!';
progressBar.style.display = 'none';
}
return response.json(); // Assuming the backend returns JSON
})
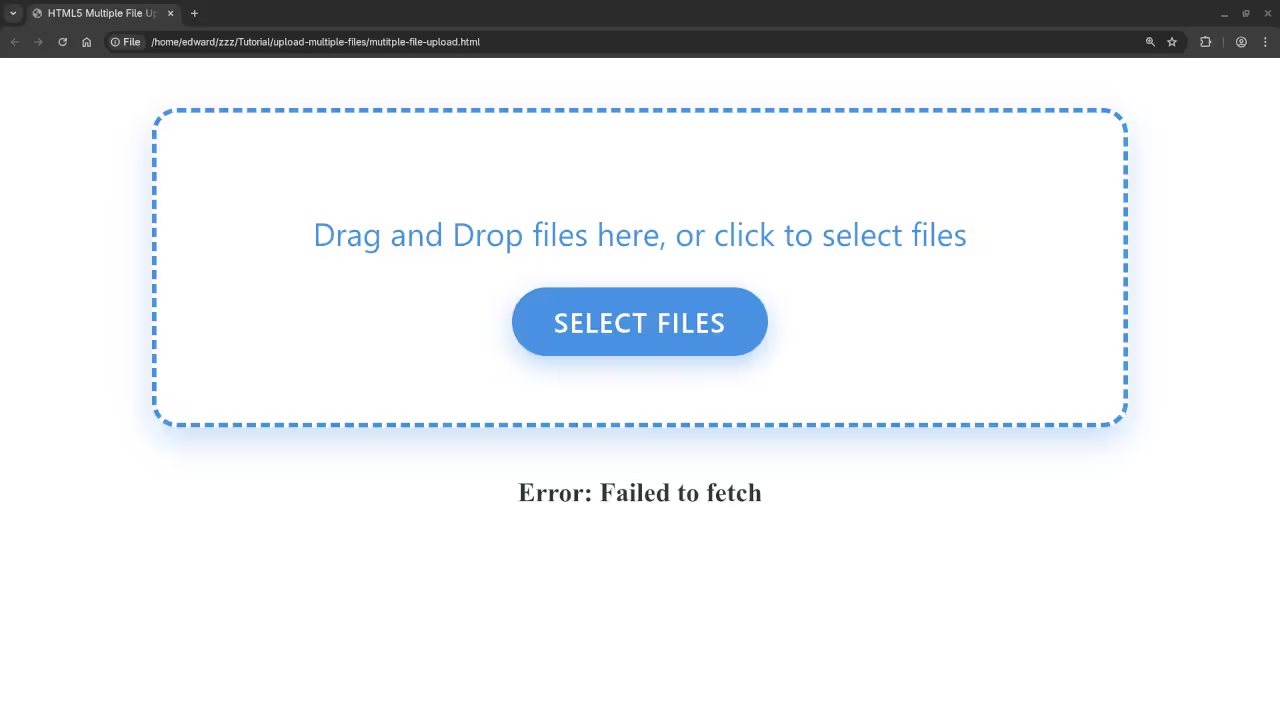
.catch(error => {
// 4. Handle network errors
statusDiv.innerHTML = `Error: ${error.message}`;
progressBar.style.display = 'none';
console.error('Upload Error:', error);
});
// Display a loading message and the progress bar (though progress tracking
// is more complex and often handled by the XHR object,
// for this simple fetch, we just show the bar).
statusDiv.innerHTML = 'Uploading...';
progressBar.style.display = 'block';
progressBar.value = 50; // Simple placeholder progress
}
Next Steps: The Backend!
And that’s it for the frontend! You now have a working **HTML5 Drag and Drop interface** that collects multiple files and sends them to a backend endpoint using the modern **Fetch API**.
In the **next tutorial**, we will focus on the **backend**, showing you how to correctly receive the FormData object and process (save, validate, resize, etc.) the uploaded_files on the server using a language like PHP, Node.js, or Python.
Screenshots and Screencast
Keep Learning JavaScript!
If you’re eager to deepen your understanding of the language that powers the frontend-**JavaScript**-I have resources designed just for you:
- **Book:** Check out my book, **”Learning JavaScript: A Programming Beginner’s Guide,”** available now! Grab your copy on Amazon today.
- **Course:** Prefer a guided course format? The comprehensive **”Learning JavaScript”** course covers everything from basics to advanced topics. Enroll in the course here.
- **One-on-One Help:** Need personalized attention? I’m available for **one-on-one programming tutorials**, including in-depth **JavaScript** sessions to help you master challenging concepts. Contact me to schedule a session!
🚀 Recommended Resources
Disclosure: Some of the links above are referral links. I may earn a commission if you make a purchase at no extra cost to you.