

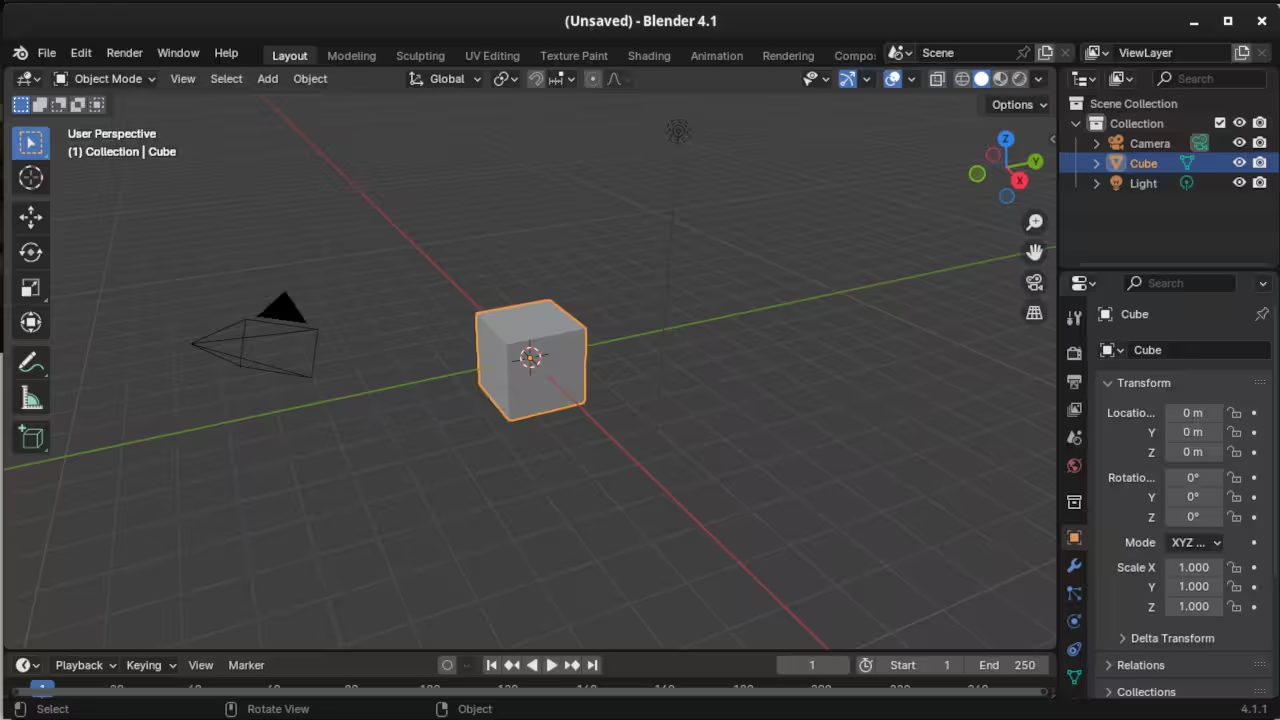
Blender Is A 3D Computer Graphics Software Tool
Blender is cross-platform for Mac OS including POSIX systems, Windows and Linux.
It is easy to customize using extensions which include add-ons and themes.
It is written in C++ and Python.
Review
Overview:
- Text editor
- Syntax highlighting
- Autocompletion
- Smart indent
- Find and replace
- Run script
s
Menus:
- File menu.
- Edit menu.
- Render menu.
- Help menu.
Workspaces:
- Layout Workspace.
- Modeling Workspace.
- Sculpting Workspace.
- UV Editing Workspace.
- Texture Paint Workspace.
- Shading Workspace.
- Animation Workspace.
- Rendering Workspace.
- Compositing Workspace.
- Geometry Nodes Workspace.
- Scripting Workspace.
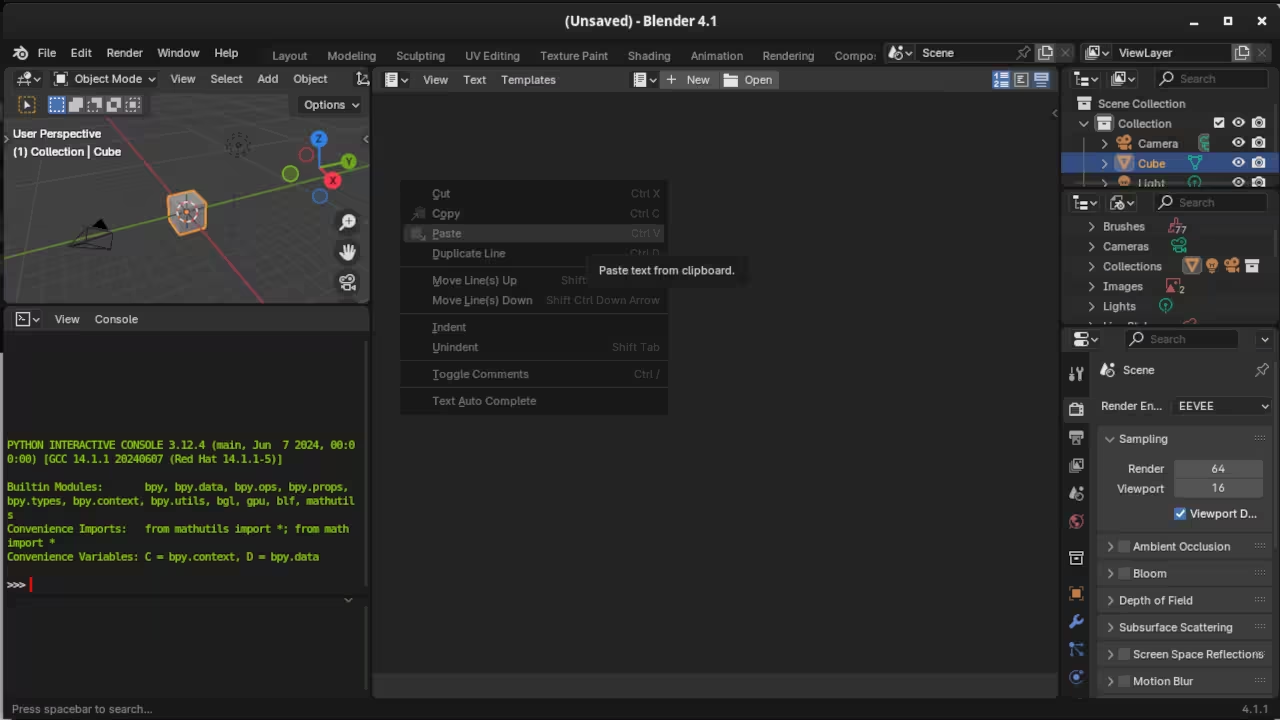
Scripting Context Menus:
- Cut
- Copy
- Paste
- Duplicate Line
- Move Line(s) Up
- Move Line(s) Down
- Indent
- Unindent
- Toggle Comments
- Text Auto Complete
import bpy

# Remove Default Cube
objs = bpy.data.objects
objs.remove(objs["Cube"], do_unlink=True)

# Generate/Modify Text / Curve settings
text_curve = bpy.data.curves.new(type="FONT", name="Text")
text_object = bpy.data.objects.new("Text",text_curve)
text_curve.extrude = 0.3
text_curve.bevel_depth = 0.015
text_curve.bevel_resolution = 20
text_curve.body = "Generate 3D In Blender Using Python Script"
text_curve.align_x = "CENTER"
text_curve.size = 1.75
text_curve.space_character = 1.0
text_object.location = [0, 0, 2]
text_object.rotation_euler = [0.7853952, 0, 0.7853952]

# Add Object To Collection
bpy.context.collection.objects.link(text_object)

# Align Active Camera To View
text_object.select_set(True)
bpy.context.view_layer.objects.active = text_object
bpy.ops.view3d.camera_to_view_selected()

# Render Settings
bpy.context.scene.render.filepath = "/Tutorial/3d"
bpy.context.scene.render.image_settings.file_format = "WEBP"
bpy.context.scene.render.image_settings.color_mode = "RGBA"
bpy.context.scene.render.film_transparent = True
bpy.context.scene.render.resolution_x = 1920
bpy.context.scene.render.resolution_y = 1080
bpy.context.scene.render.resolution_percentage = 100

# Render Image
bpy.ops.render.render(use_viewport = True, write_still=True)

# Generate Blend File
bpy.ops.wm.save_as_mainfile(filepath="3d.blend")
Usage
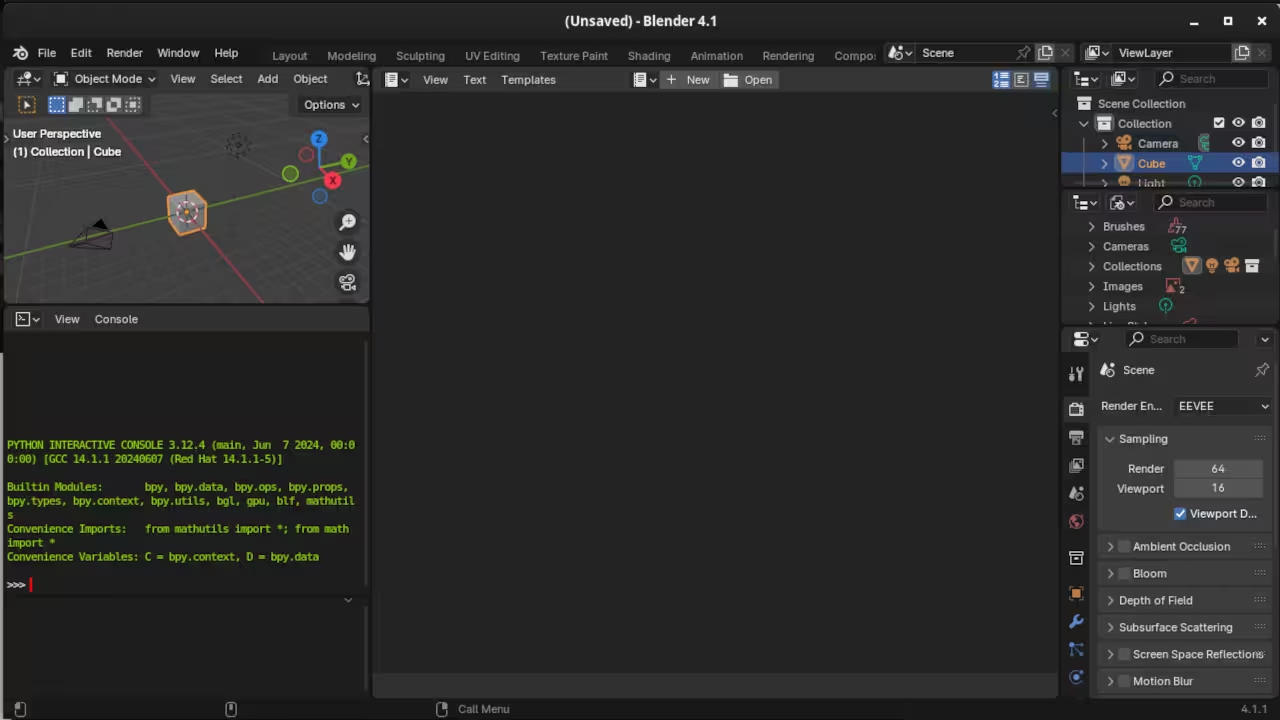
Blender can be installed at the any time before or after installing Python. The initial screen displays a default cube, camera and light source. The scripting screen displays a Python Interactive console window and an editor window. It is possible to open a custom python file or paste code into the editor. Editor features such as line numbers, word wrap, syntax highlighting, and zoom are available.
Open Source
Blender is licensed under the GNU General Public License, version 2 or later. This allows commercial use, modification, distribution, and allows making private derivatives. It is made in C++ and Python, making it easier to contribute and modify.
Learning Python:
Course is optimized for you in the web browser on any device.

Limited Time Offer:
OjamboShop.com is offering 20% off coupon code SCHOOL for Learning Python until End Day 2024.
Conclusion:
Install the Blender application by compiling from source or downloading binaries for your device. Use Python to create custom scripts or extensions for Blender
Take this opportunity to learn Python programming language by making a one-time purchase at Learning Python. A web browser is the only thing needed to learn Python in 2024 at your leisure. All the developer tools are provided right in your web browser.
References:
- Learning Python Course on OjamboShop.com
- Geany The Flyweight IDE
- Blender Source Code
- Blender Extensions
- Blender How to Create Extensions
🚀 Recommended Resources
Disclosure: Some of the links above are referral links. I may earn a commission if you make a purchase at no extra cost to you.